Porcelain and ceramic
Common choices for floors and walls; format, edge profile and intended exposure affect layout and installation.

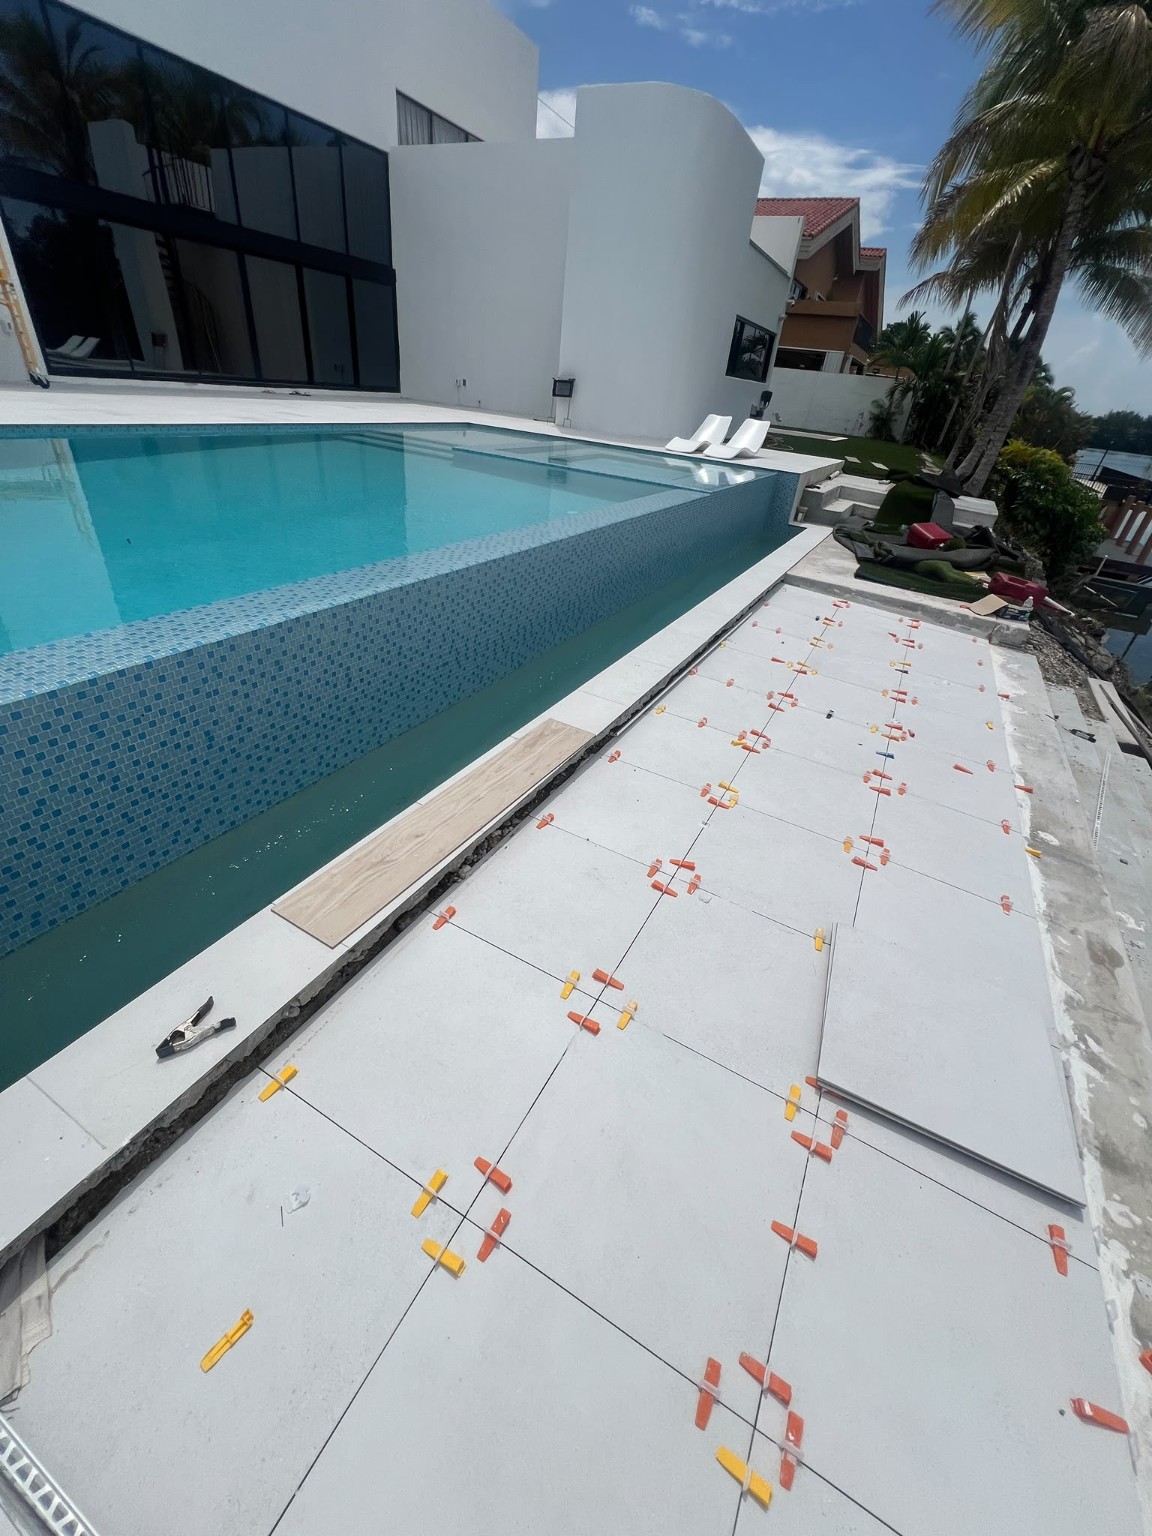
Livane Renovation provides tile installation across Miami-Dade, Broward and Palm Beach for residential renovations, managed properties and selected commercial interiors.
Livane Renovation installs tile for homes, common areas, business interiors, kitchens, bathrooms, and patio renovation projects across South Florida.
We review existing conditions, dimensions, access, adjacent finishes, material requirements, and scheduling constraints before defining the scope. That keeps the proposal practical and helps homeowners, property owners, managers, and builders compare the work on clear terms.
Layout planning, substrate review and preparation, removal coordination, setting materials, tile installation, grout, transitions, edge details, and final punch-list work.
Service guide
Livane Renovation provides tile installation across Miami-Dade, Broward and Palm Beach for residential renovations, managed properties and selected commercial interiors. Professional tile installation is more than placing tile in a pattern. The scope begins with the condition and flatness of the substrate, then accounts for layout, transitions, movement accommodation, setting materials, grout and edge details. The correct assembly varies between dry interiors, wet areas and exterior surfaces, so existing conditions must be reviewed before the installation method is defined.
Document dimensions, access, adjoining finishes and the condition of the existing assembly.
Evaluate substrate stability, flatness, contamination and moisture exposure.
Plan tile direction, focal lines, cuts, transitions and visible edge conditions.
Remove incompatible finishes where required and complete appropriate surface preparation.
Select compatible setting and grout materials for the tile, substrate and exposure.
Install to the approved layout while controlling coverage, alignment and plane.
Complete grout, movement joints, transitions and exposed-edge details.
Inspect the finished work and close out the punch list.
Common choices for floors and walls; format, edge profile and intended exposure affect layout and installation.
Stone variation, porosity and finish require material-specific handling rather than assumptions borrowed from ceramic tile.
Larger units make substrate flatness, handling, coverage and lippage control especially important.
Exterior exposure and wet areas need different preparation and movement planning from conditioned interior rooms.
Sometimes, but only when the existing assembly is well bonded, sufficiently flat and compatible with the proposed system. Added height, transitions and concealed failures often make removal the better choice.
Tile is a rigid finish and does not correct movement, major unevenness or an unstable base. Preparation is part of the installation, not a cosmetic extra.
No. Larger tile generally demands tighter flatness tolerances, deliberate handling and careful mortar coverage and alignment.
No responsible scope can be priced from the service name alone. The principal project variables are:
Duration depends on area, removal, preparation, tile format, layout complexity and cure times. A small prepared room and a large occupied-property project should not share the same schedule assumption.
No, but retaining it requires confirmation that it is stable, properly bonded and suitable for the new assembly.
Material procurement can be defined during scoping. The exact tile should be known before final layout, quantities and setting requirements are confirmed.
Yes. Tile should be sequenced with demolition, cabinetry, wet-area work, doors and other finishes to avoid rework.
Selected patio and exterior scopes can be evaluated, with exposure, drainage, substrate and movement conditions considered separately from interior work.
Share photos, approximate dimensions, property location, tile selection if known and a description of the existing surface.
Share clear photos, approximate square footage, the property location, current condition and desired result. That information helps separate a preliminary conversation from work that needs a site review.
Send photos, approximate square footage, the property location, and your target timing. We will advise whether the next step is a preliminary review or a South Florida site visit.
Request a Quote